Hello gals!
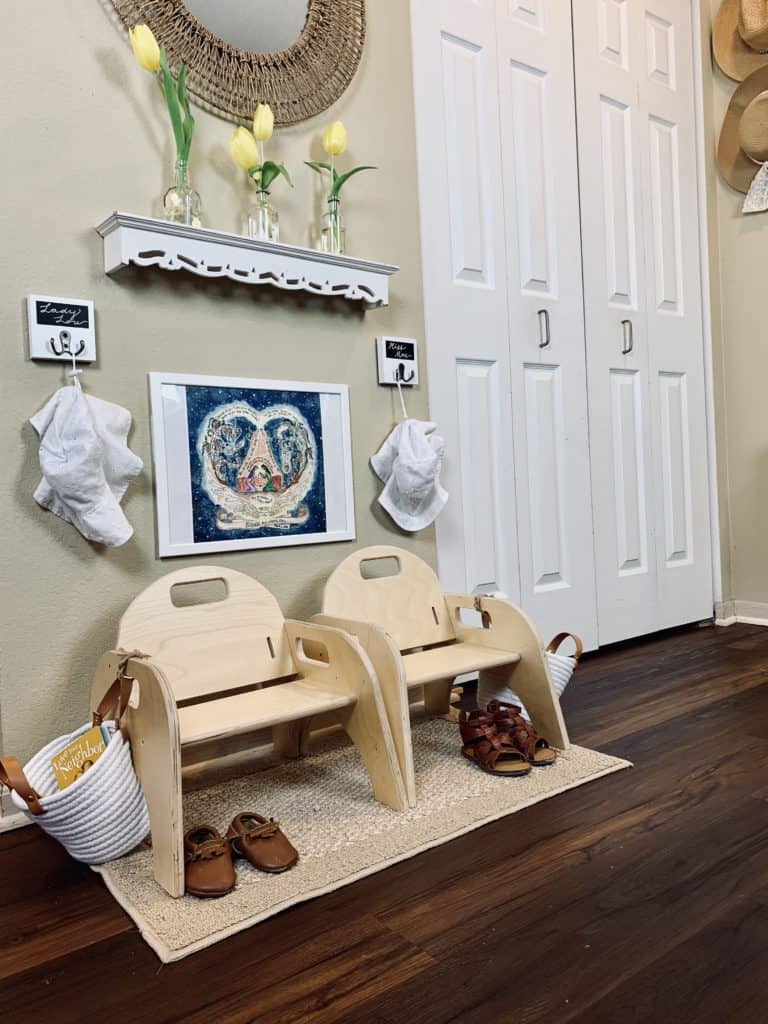
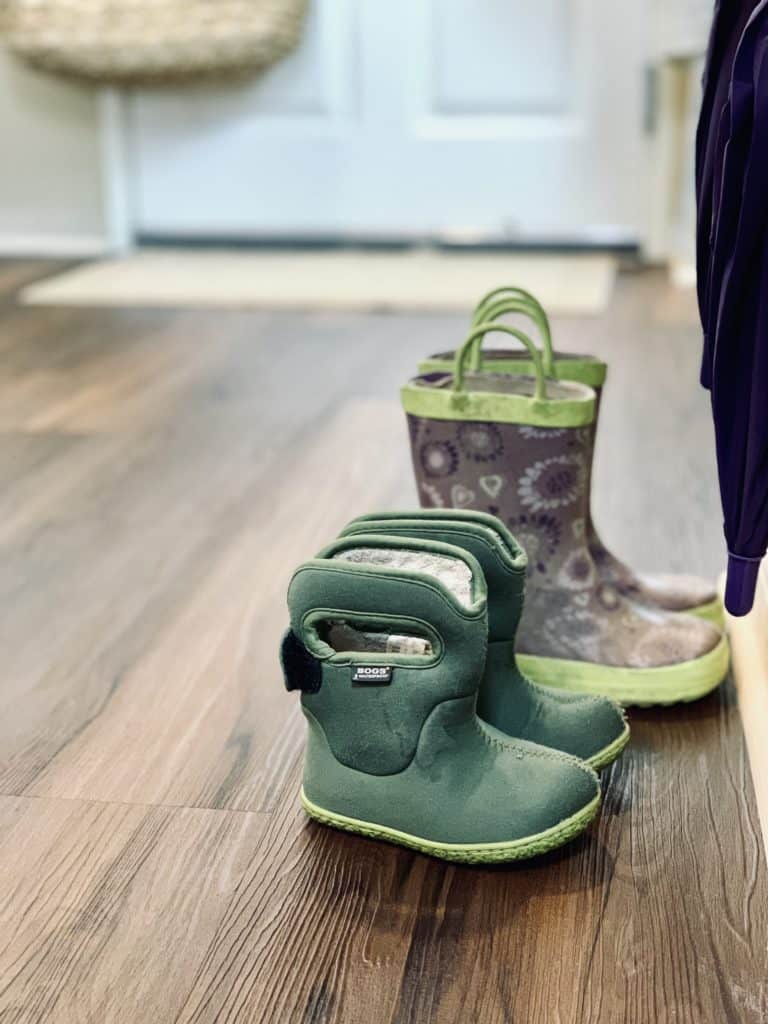
I’m excited for our first Montessori-themed post. Winter is just wrapping up here as I write, so setting up our Spring entryway is a welcome reminder that the days of daffodils and rain boots are coming soon!
WHY CREATE A ENTRYWAY FOR A CHILD?
I’d like to start off this how-to with briefly noting why I made an entryway for my dear daughters, who are at this time 3.5 and 1 years old. Taking a moment to notice when something speaks to me and think about why I am inspired to then incorporate it into our own home, (in my own way!) helps me to live with intentionality. Identifying the purpose(s) fueling my actions beautifully enriches the experience of these little home projects and brings a deep-seated joy and meaningfulness to our space. In this case, passing by our entryway and watching the girls use it brings me a smile in knowing that my devoted planning and work in our home is effectively providing a space for their development as persons. It is so simple yet very profound!
Reasons to design an entryway for children
1. I want my children (and their little friends who visit) to have a strong sense of “you are welcome here.” I can pave the way for this feeling of belonging by providing child-sized furniture, a place for everything, and touches of beauty.
2. Having a place for everything needed to get out the door significantly decreases the inevitable STRESSFUL last-minute searches for necessary items like shoes or backpacks or that matching glove. Stress is my least favorite thing, and a stressed-out mama bear is definitely not fun for the little ones. Having a place for everything allows us to have a consistent routine for leaving the home and also upon returning to it.
3. An entryway designed specifically for children provides a daily opportunity to practice the integral Montessori notion of attuning to the child’s need of “help me help myself.” When we do the least amount of work necessary to assist our children toward mastery (in tasks such as getting dressed, gathering school supplies, or returning personal items to their proper place), they gradually gain more and more independence and experience the joyof doing these things on their own.
Without a designated space for preparing to leave, I end up being the crazy mother hen rushing around the house looking for items and pestering children to put their shoes on. When returning home from an outing, if there is not a place for everything (or if little family members are unaware of where everything goes), there ends up being a massive pile of clothing items and unsorted bags tossed just inside the door. I think this is especially difficult when living in a small space.
HOW TO MAKE THE ENTRYWAY
Steps
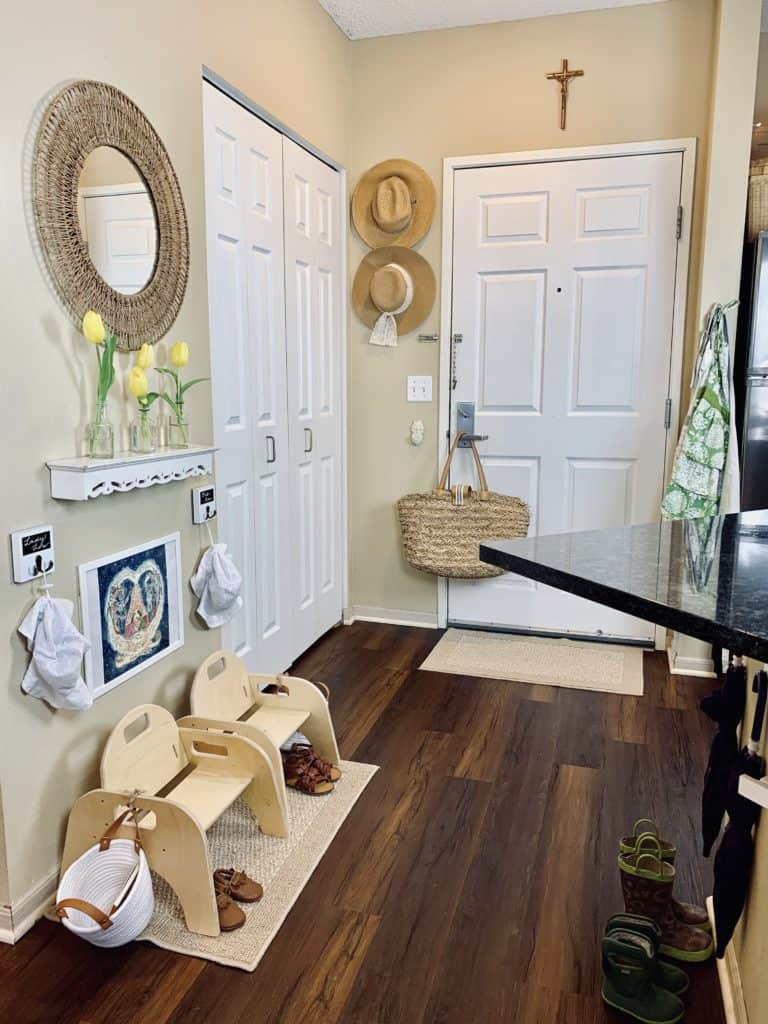
1. Assess your entryway space and make some notes of your set-up ideas. Some people have entire mudrooms, you may only have a tiny corner just inside your front door. We can make any situation work!
2. Make a list of what you need and gather your supplies. (Get a FREE printable checklist at the bottom of this post)
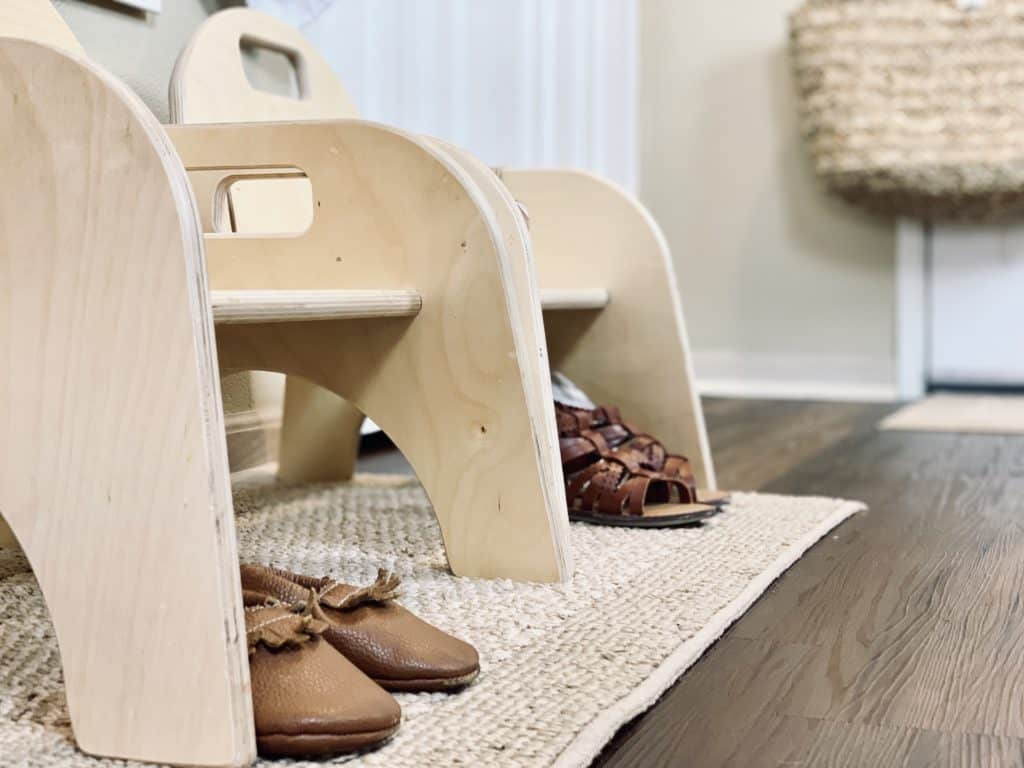
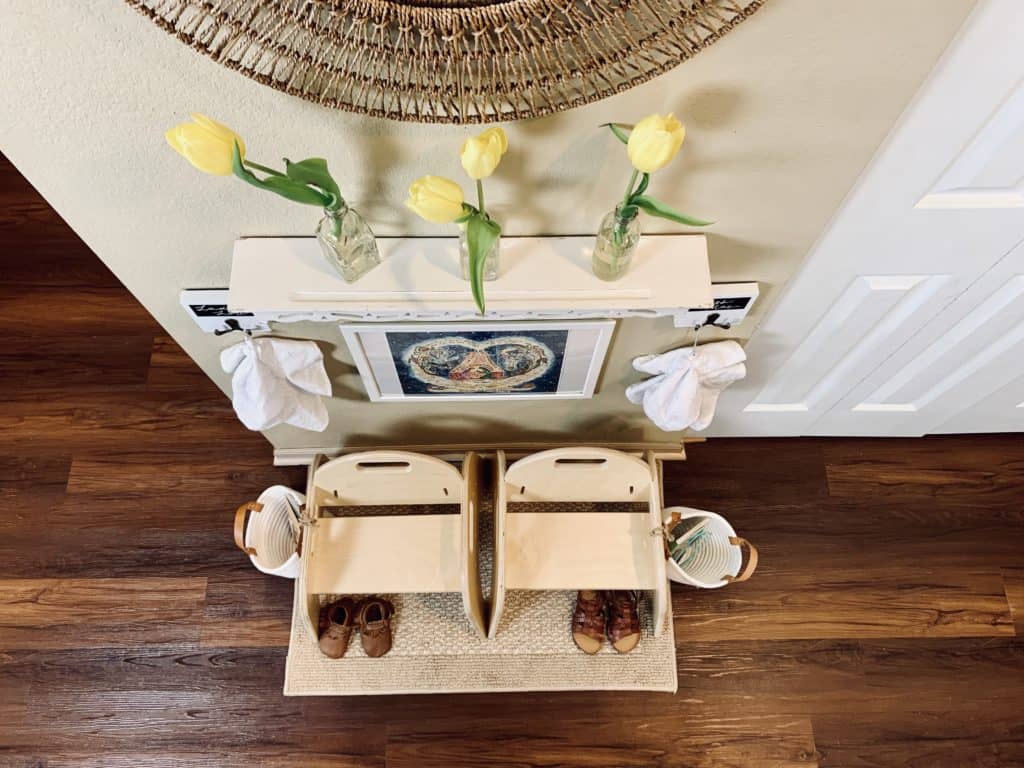
3. Set up the area rug, chair(s) and/or bench and/or sitting stool(s)
4. Designate a place for hanging outerwear and install hooks at an accessible height for your child(ren)
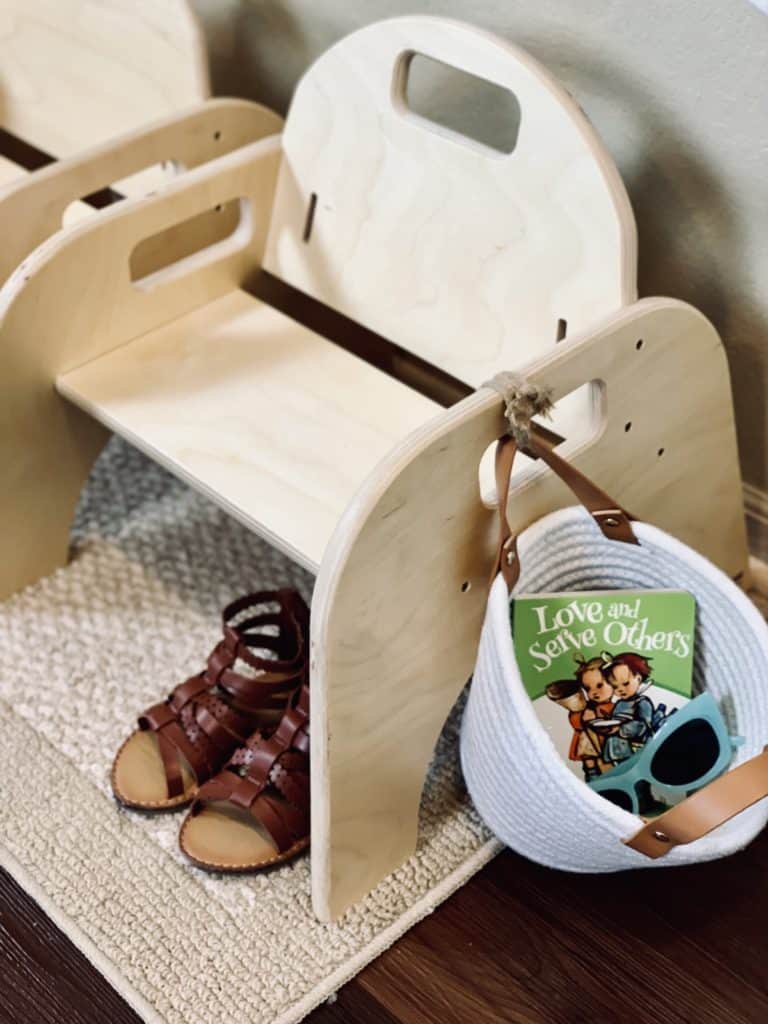
5. Designate a holding place (such as a basket or bin) for loose seasonal items (sunglasses, hats, mittens, etc.). I also like to keep a few small books for time waiting.
6. Designate a spot for shoes. You can try a boot tray or a small rug, or even outline a box on your floor with washi tape. I was excited about trying out the washi tape but our 1.5 year-old kept gleefully peeling it up. We have a boot tray and hanging pockets for shoes just inside our front closet.
7. Consider hanging a mirror at an appropriate height
8. Add your own touch of beauty, such as art, greenery, labels, name tags, etc.
INTRODUCING THE SPACE TO YOUR CHILDREN
When introducing a new place and routine to our girls, I like to start by stating how we used to do things and then follow it by presenting our new approach.
Example Presentation to your Littles
1. State how things used to be.
It could go something like this, with an upbeat voice: “So Miss Mae and Lady Lou! I would like to show you some things… you know how we have been getting ready to leave the house before? Mama gathers all the things and helps you get your coat and shoes on and carries your bags, and then puts everything away when we get home? Well we are going to do this a little bit differently now.”
2. Give a tour around the space.
I might say, “Here is where the coats will go from now on. Yours belongs on this hook, Miss Mae, and Lady Lou, yours goes here. Here is where you can find your shoes and where you can sit when you put your shoes on. In this basket we keep your indoor booties and sunglasses and a little book to look at while you are waiting to leave.”
3. Model how to use the space.
“Now I am going to show you how we will use this area. After my turn, we will do it together and then you will get to practice doing it all on your own.” Without using words, I would as best as I could (obviously may not fit in their chairs or wouldn’t be able to put on their clothing or shoes) walk through the steps of getting ready, “pretend leaving,” then return, and put all the items back where they belong.
4. Use the space together and then allow the child(ren) to try on their own.
Go through the same steps of getting ready, “pretend leaving” and returning alongside your child, assisting when necessary and softly whispering prompts such as “the coat goes here” when they need a reminder.
HELPFUL TIPS
· While assessing and creating your Montessori-inspired entryway, get down and see the space from your child’s perspective. I like to just plop down on the floor and take it all in for a few minutes. From there I can see better things like distracting wall outlets or pokey edges that need taken care of.
· Try to look around your home and use what you have before going out to purchase anything new. Is there an old stool not being used in the garage? Left over command hooks from another house project? Some of your child’s artwork in a drawer that can be framed for a splash of color?
· Check thrift stores for child-sized furniture. I have found some really REALLY cute little benches at thrift stores, and I know of others who will simply saw down the legs of smaller chairs to make them just-the-right-size for their kiddos.
· Allow some time for trial and error as you observe your child exploring and utilizing the space. Maybe you decide the hooks would work better in another spot, or the mirror needs to be adjusted. Personally, I had to replace the chairs with more sturdy ones as the stools I initially used were so wobbly that the girls were nervous to use them. After Maribelle kept yanking the picture frame down, I had to go back and add stronger command strips to the artwork, as well as replace our original command strip coat hooks with ones that could be mounted on the wall by screws.
· Once you get into a groove, be as consistent as you can with the getting ready and returning steps. Offer lots of patience and kind reminders. I have seen that our 3.5 year old responds better to statements of where things belong rather than commands, for example, “the backpack goes on the hook” rather than “put the backpack on the hook please.”
Get your free DIY Montessori Entryway Checklist HERE
RESOURCES
I always encourage to first use what you have, then borrow or thrift or bargain shop if possible (if that is your thing), and then turn to Amazon for your materials. Here are some links to help with searching what works best for your family. ***I may earn a small commission for my recommendation links to amazon. Your purchase helps support my work here at tpsm, thank you!***
Non-Slip Mats- similar ones here at amazon.com
Toddler chair set here at amazon.com
Chalkboard Hooks (Target dollar spot); White Hooks (Ikea), similar ones here andhere at amazon.com
Mini baskets (Target dollar spot), similar ones here on amazon.com
White Paint Marker from amazon.com
Tobit 8 Wedding Artwork by Dovetail Ink
FISKBO Frame with Plastic panel (Ikea)
Shoes- Similar moccasins here, similar sandals here on amazon.com
Rain Boots (thrifted) and Bogs on amazon.com
Child-friendly umbrellas on amazon.com
Toddler cat-eye sunglasses- similar ones here on amazon.com
Aquinas Kids board books here on amazon
Happy Placemaking!
Thanks for joining me here at the place she made and please share any of your helpful child-friendly entryway tips or resources in the comments below!
Love, Serra Ann
Pin this Project for Later!
Leave a Reply