Hi there! Today you are invited to Snack Time Montessori-Style!
Intimidated by Montessori at Home?
A Little at a Time
When first exploring bringing Montessori living into the home, it can be a bit overwhelming as it seems like there is a certain way to set –up and particular way do everything. This is potentially paralyzing, especially for mommas who already feel overwhelmed or that they are “not doing enough.”
I have found that designing our home and daily life with little humans in mind has happened in stages, taking it one little step at a time as my daughters grow and develop. As they show me they are ready for more and as I am able, it is exciting to purposefully take time to prepare another area of our home life and then guide them through their learning.
Do What Works for You
Admittedly, I’ve seen that often our girls are ready for more learning LONG before I’m prepared to “implement” new things, but I do what I can (and want) when I can, and look at Montessori in our home as a series of enjoyable and manageable little projects that just never fail in bringing out the best in all of us.
Last week I shared How to Make a Montessori Entry Way… if you haven’t had a chance to look how it turned out, check that out after this post, it’s really been a life-changer in our house.
Today I’m excited to explore Montessori-Style Snack Time with you!
Before Starting
Observe the Child
One of my favorite core Montessori practices is the emphasis on observing the child(ren). They communicate so much through their actions and it can be such a moving experience to take the time to notice their interests and current abilities. Like I said earlier, we usually don’t realize how much our little one’s are actually able to do (and WANT to do) independently because we are just used to doing it for them!
So, currently, observing my girls, for example:
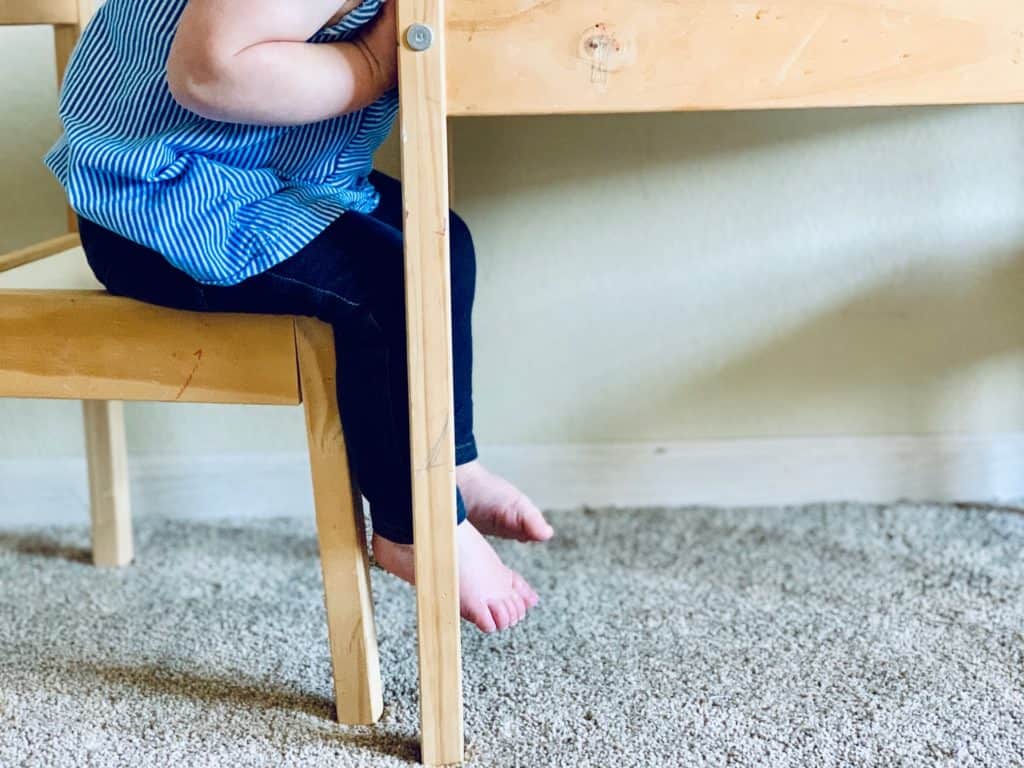
Well, I know that Miss Mae (age 3.5) wants to do evvvvvverything on her own. When it comes to preparing food or setting the table, if I have taken the time to teach her what to do and where things go, she wants to run with it. If she has the opportunity to chop, spread, or assemble food, she is eager and focused. Lady Lou (16 months) is really into getting things out and putting them back where they go, climbing up and down from the snack table chair, learning how to use the water pitcher, and carefully carrying cups or bowls or plates from surface to surface avoiding spilling.
In other words, I know they are more than ready to be given more guidance and independence in this area. Lately I’ve just been preparing their snacks and setting them up at their little table and occasionally we get out the placemats. I’m looking forward to thinking through what will be a good fit for us, and recommitting to setting the girls up for success!
Ask These Questions
Before jumping into a new way of doing snack time, take a moment and consider:
- What does snack time currently look like for us?
- What is working? What is not working?
- How involved is my child in preparing the snack, in setting the table, in the cleanup process?
- What have I observed lately in my child’s abilities and interests surrounding eating time or otherwise?
Why Do It?
Although we often have snacks on the go, sometimes in carseats and other times picnic-style, when we are home, we aim to sit down together at the child-sized table for fifteenish minutes of nourishing food and togetherness between meals. When I create a space for an intentional slowing down and incorporating beautiful touches into our snack time, I see it as a deep inhale during our day which grounds us then fills up for the next round of “exhaling” activity. So right now my intention for snack time is a nourishing inhale.
What is your intention?
Setting Up Snack Time
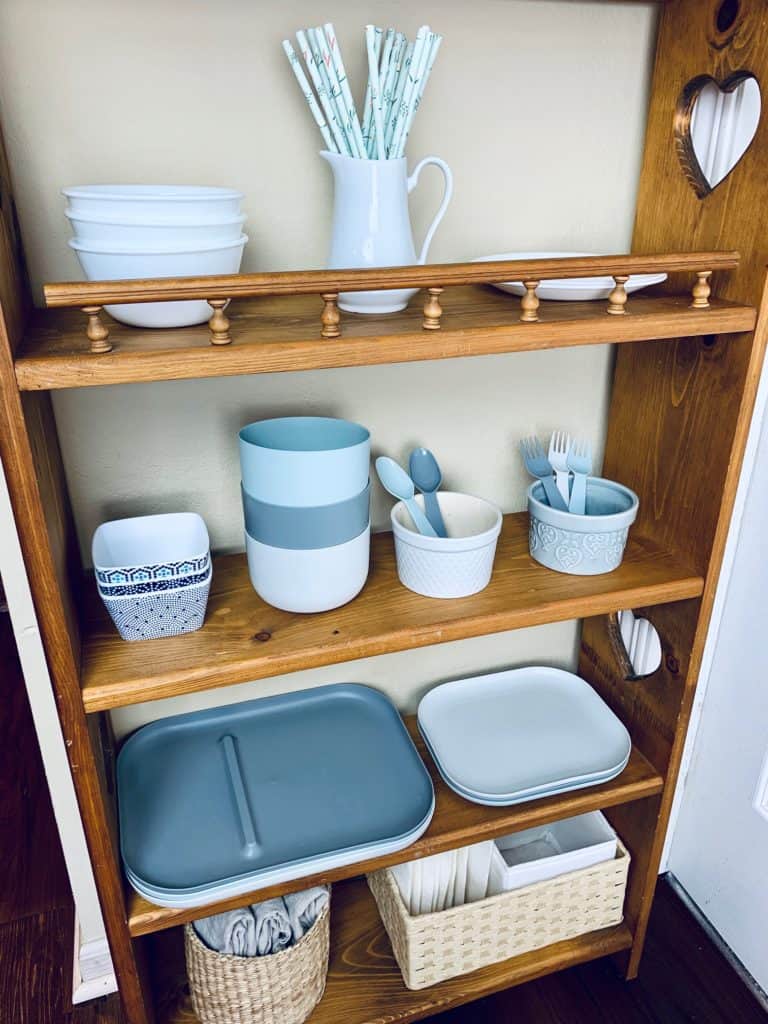
The Preparation
Suggested Materials, all easily accessible to your child (see bottom of post for where you can source these):
- Child-sized furniture (or foldable tray or picnic blanket for the floor!)
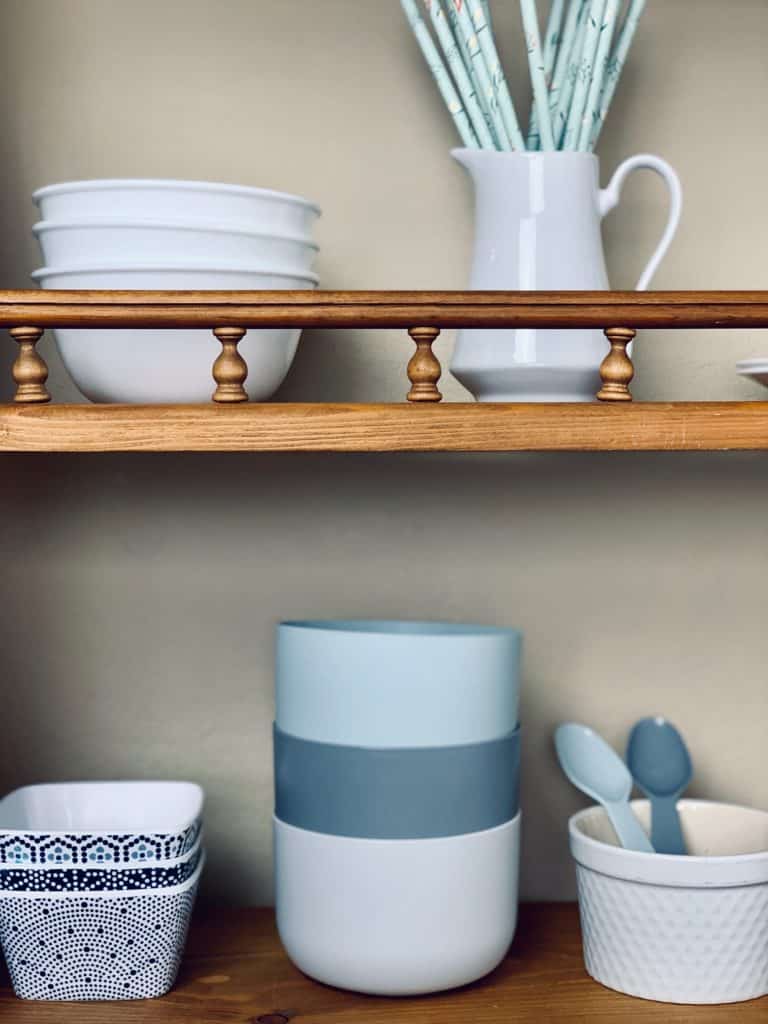
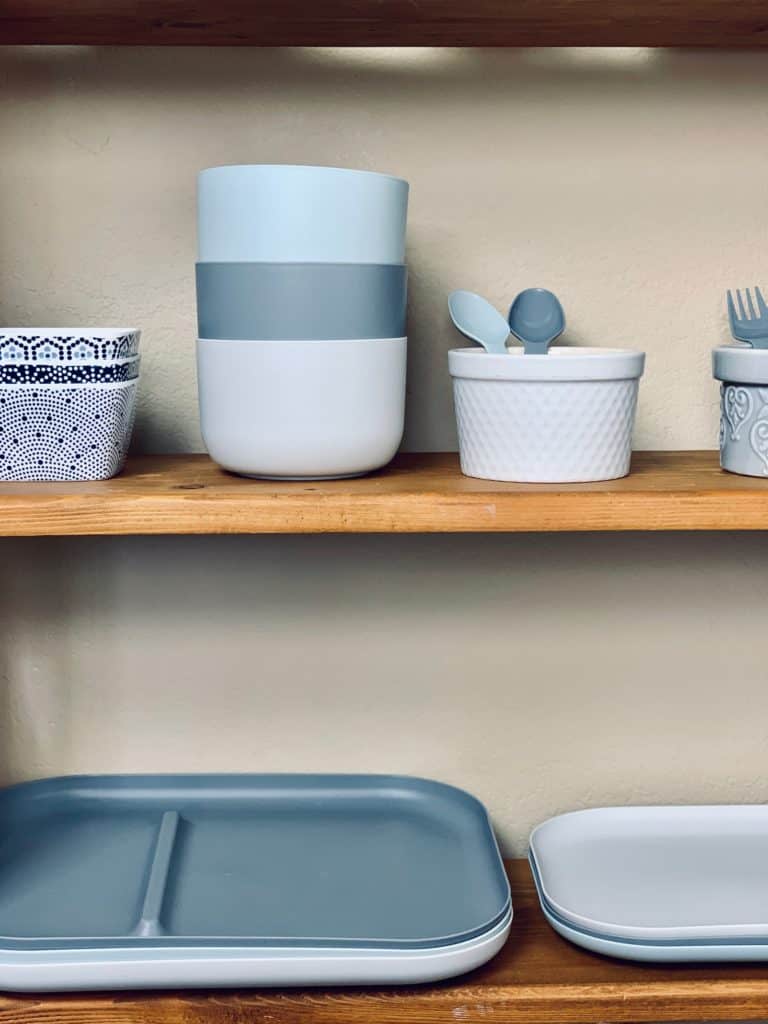
- Child-sized tableware such as plates, bowls, cups, utensils
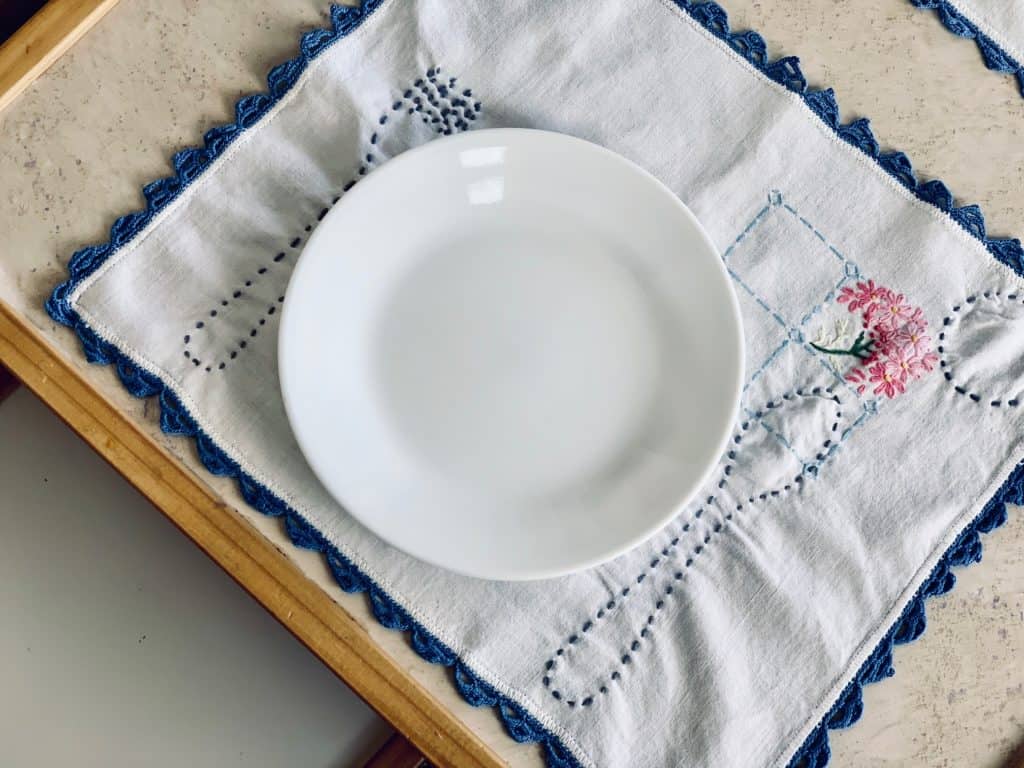
- Placemats and Napkins (optional name places)
- Carrying tray
- Food preparation kitchen tools
- Snack foods (see below for healthy snack ideas for toddlers)
- Water source accessible by the child (future post coming on this!)
What materials do you already have? What other things would you like to gather?
The Process
FIRST you need an established process or routine (this should be thought out and decided by you, according to what you think a good fit would be for your family).
Our family’s routine, to serve as an example:
- Wash hands
- Put on aprons
- Set table
- Load tray with placemats, napkins name places, utensils, cup and bring to snack table
- Set the table using guided placemats
- Bring cup to water source, fill up and bring back to place setting
- Choose snack
- Prepare snack items
- get out plates or bowls
- prepare snack
- put any utensils used (like knife, spreader, slicer, peeler, etc.) in bin to be washed later, return apron to hook
- carry snack to table and sit down
- Blessing before meal
- Eat, Drink and be Merry!
- Clean up routine (more on this in another post!)
What routine might work for you?
The Presentation
Second you need a plan for presenting your routine. Giving a “presentation” is basically holding a mini-lesson for your child on how snack time will go from now on.
I personally like the presentation pattern of saying to the child something like: “We have a new way of doing snack time at our home that I’d like to show you. First, I will do it, then we can do it together, then you can do it all on your own!”
How will you explain your snack time process?
The Picture
THIRD you need a written list or picture chart of your routine- for everyone to be able to refer back to!
How am I going to make our process visually available?
Helpful Tip
Scaffolding Skills
Know you will need to “scaffold” your child’s skills, or in other words, start simple and then over days and weeks work up to doing your entire proposed routine… it wouldn’t make sense to suddenly dump dozens of new steps on these little guys and expect them to retain it well… instead, take little steps and allow them to manage more as you see them master more simpler tasks. Give presentations as the child needs reminders.
For Example…
My scaffolding plan as we get back into our snack time routine is:
- first present to Lady Lou (re-present/ remind Miss Mae) of our hand washing/apron-donning/ setting the table process (for a week or so, or until I am confident of their confidence setting the table, I will prepare and bring the snack to them, allowing them to observe my steps preparing)
- then present and accompany the girls (for several days perhaps) in preparing a snack plate with foods that don’t take preparation (i.e. just putting crackers on a plate or scooping pickles from a jar and putting them in a bowl) as well as our chosen process of cleaning up
- finally present and accompany the girls in preparing all sorts of snacks and mastering use of various kitchen utensils (i.e. peeling cucumbers and hard-boiled eggs, slicing strawberries, cutting apples, rolling deli meat, etc.). The options are endless!
Your Turn!
Now all you need is a “you can do this!” and go make it your own! I’d love to hear any other helpful Montessori-style snack time tips that have worked for your family in the comments below.
Get our free printable cheatsheet for Montessori Snack Time At Home (which includes our handy list of Healthy Snack Ideas for Toddlers!) HERE.
Thanks for joining me today in living intentionally!
Love, Serra Ann
Resources
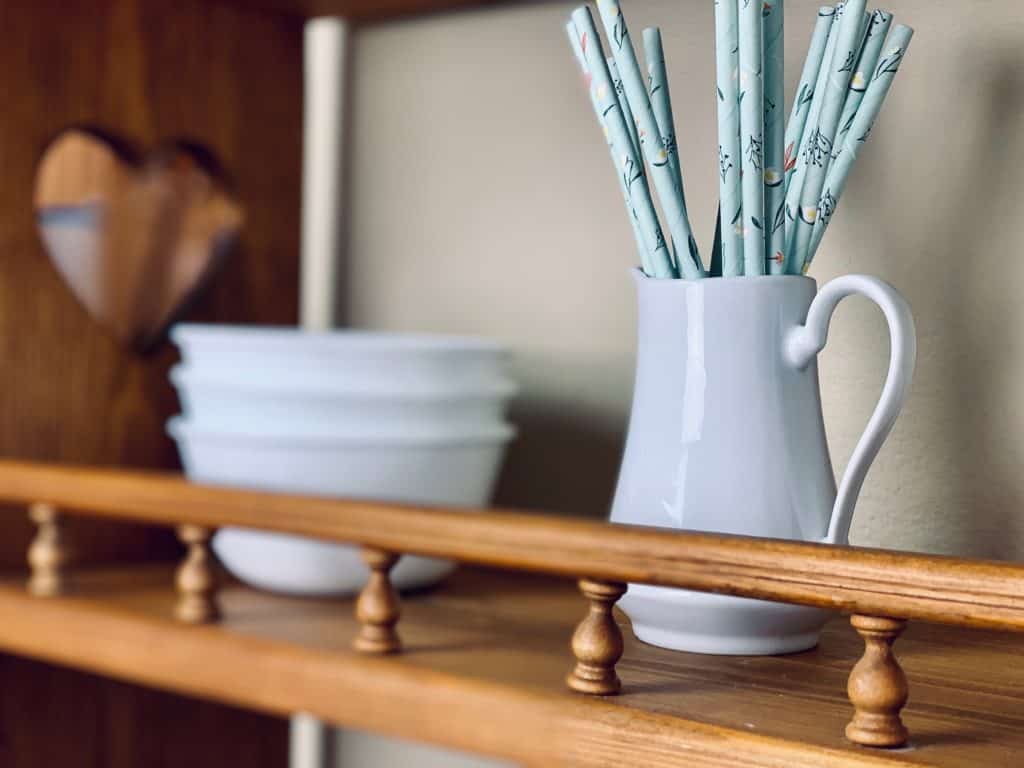
Below are some Montessori snack time supplies. I always encourage to try to first use what you’ve got around the house, then look to borrow or thrift or find it gently used (through sites like craigslist or offer-it-up or facebook marketplace). If these options don’t work or are not available to you, below are some places you can find them online. ***I may earn a small commission for my recommendation links to amazon. Your purchase helps support my work here at tpsm, thank you!***
CHILD-SIZED FURNITURE:
Ikea Last Pine and White Table and 2 Chairs
Melissa and Doug White Solid Wood Table and 2 Chairs Set
Simple Grey Wood Table and 2 Chairs
Trendy Ivory and Mint Table and 2 Chairs Set
Windsor Kids Grey Table and 2 Chairs Set
Natural Wood Table and 2 Chairs Set
Kids Farmhouse Table and 4 Chairs Set (Several Choices for Type of Wood)
FOLDABLE TRAYS:
Wood and Melamine Foldable Tray
PLACEMATS WITH PLACESETTINGS:
Silicone Toddler Dining Placemat
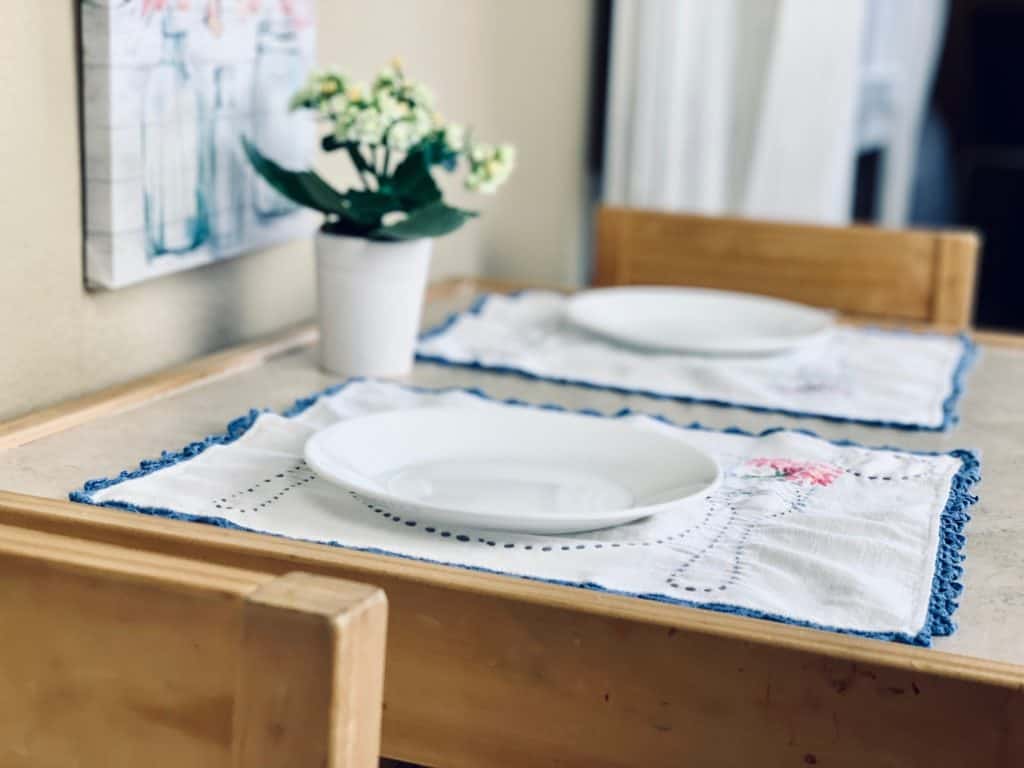
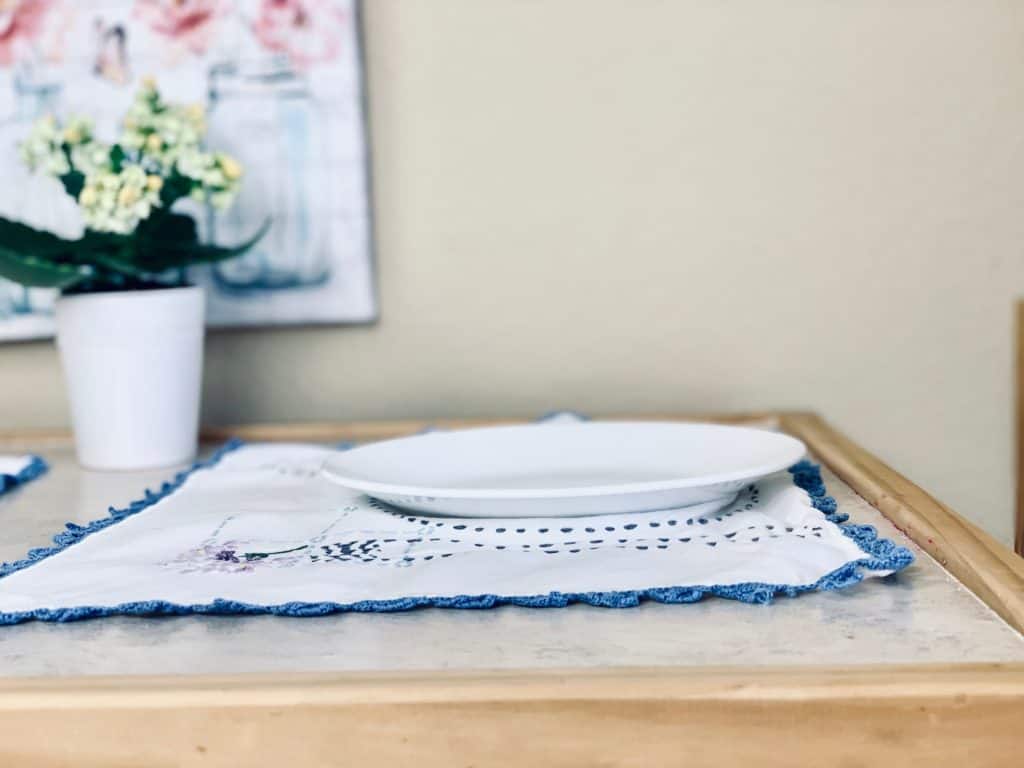
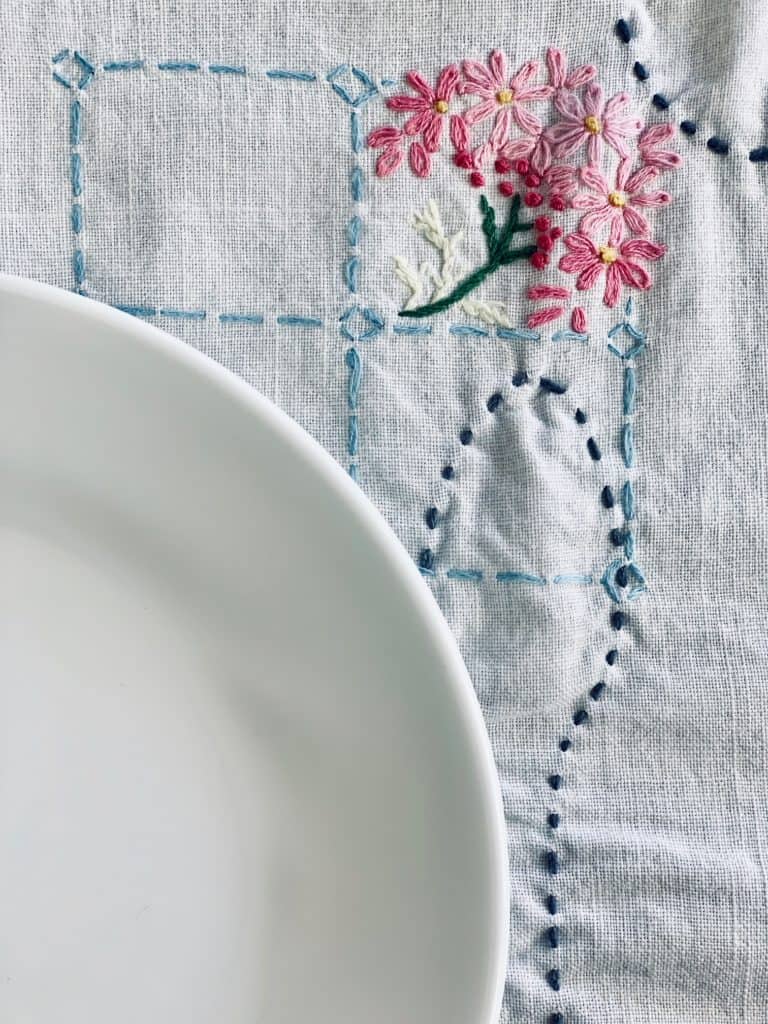
* I had fun doing a DIY embroidery on some thrifted cloth placemats, but you can also make your own with a sharpie on any old plastic mats like these
OR on Washable Non-Slip Table Mats like these
Many thrift stores have aisles of little sets of bowls and plates. I look for “corelle” brand (or similar) because they can be very beautiful but they also stand up well to toddlers dropping them on hard floors. Here is a classic white corelle plate set on amazon.com.
CHILD-SIZED TABLEWARE:
As for utensils, Ikea has a nice children’s 3-piece flatware set. Here is a 12-piece Kid’s Silverware Set on amazon.com.
When choosing cups, think smaller the better for little hands. Some people find shot glasses to work great (check your local dollar tree or thrift stores). We currently use some basic ones I picked up from Target when our old ones cracked, but here are some other examples of appropriately-sized cups:
CARRYING TRAY:
WHEW! I’ll save food preparation kitchen tools for another post! Comment below if you have any questions.
Sign up HERE to get your FREE SNACK TIME GUIDE with a list of healthy toddler snack ideas.
Thanks for being here at the place she made! xxo Serra Ann
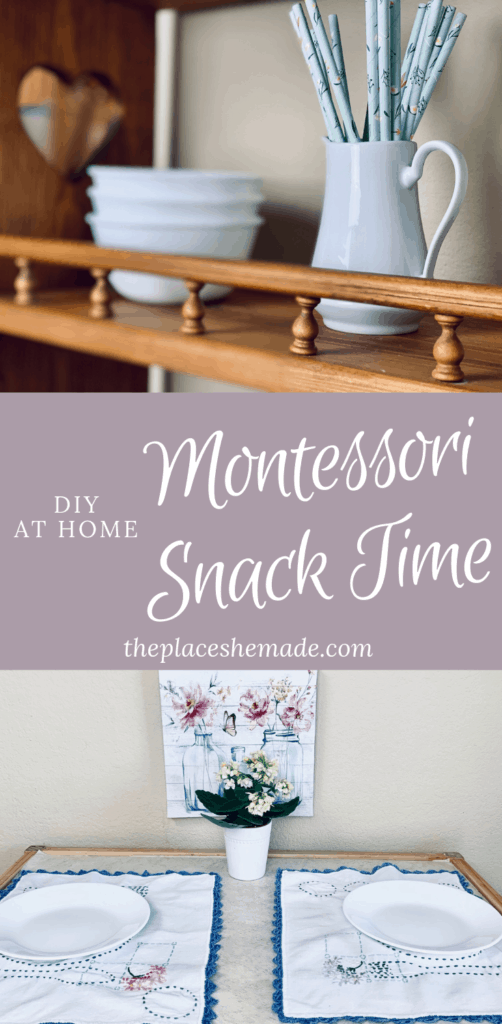
Pin this Project for later!
This is the perfect kind of thing to incorporate during the slower days of summer. Pin it for then if you can’t get to it now!
Leave a Reply